
Getting Started with Product Setup
This guide walks you through the first steps to configure a default product in Hostware, including creating a monthly payment interval and a contract term, then assigning both to your product.
What you need
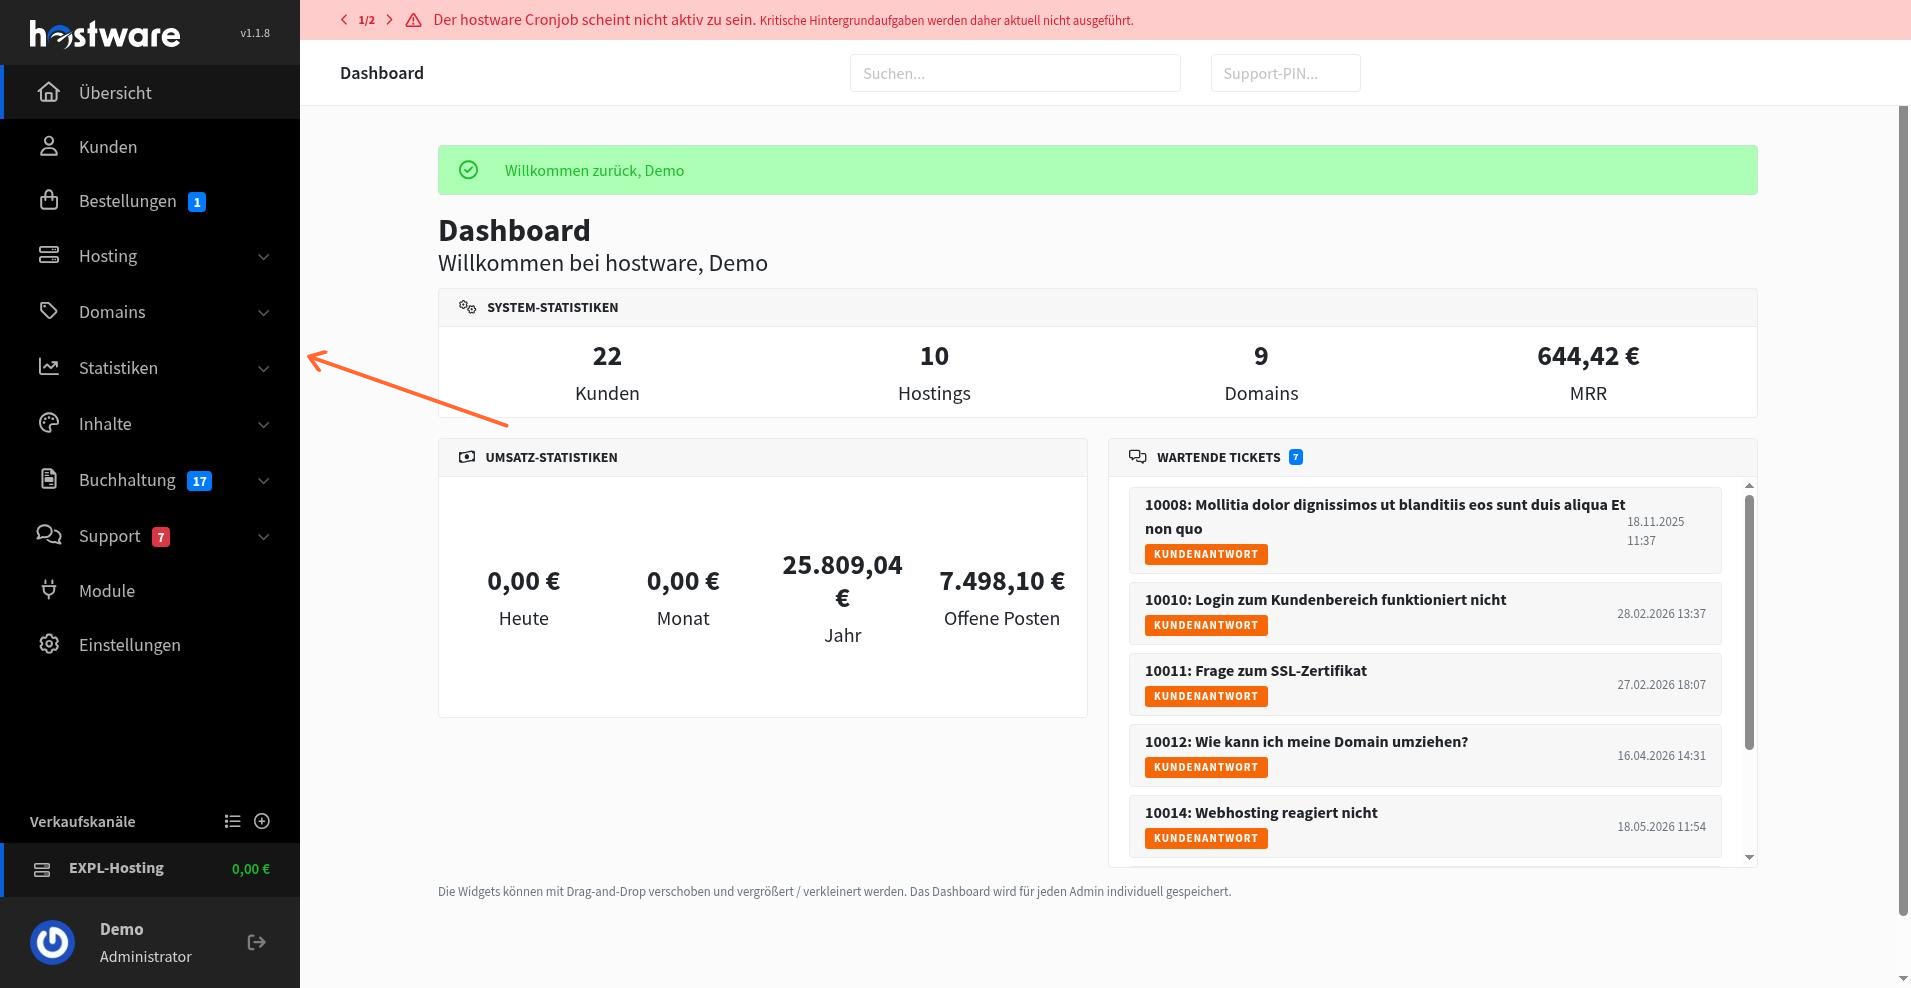
Before you start, make sure you are logged in to the Hostware Administration dashboard. The left sidebar contains all navigation links you will use for this setup.
Step 1: Create a default product
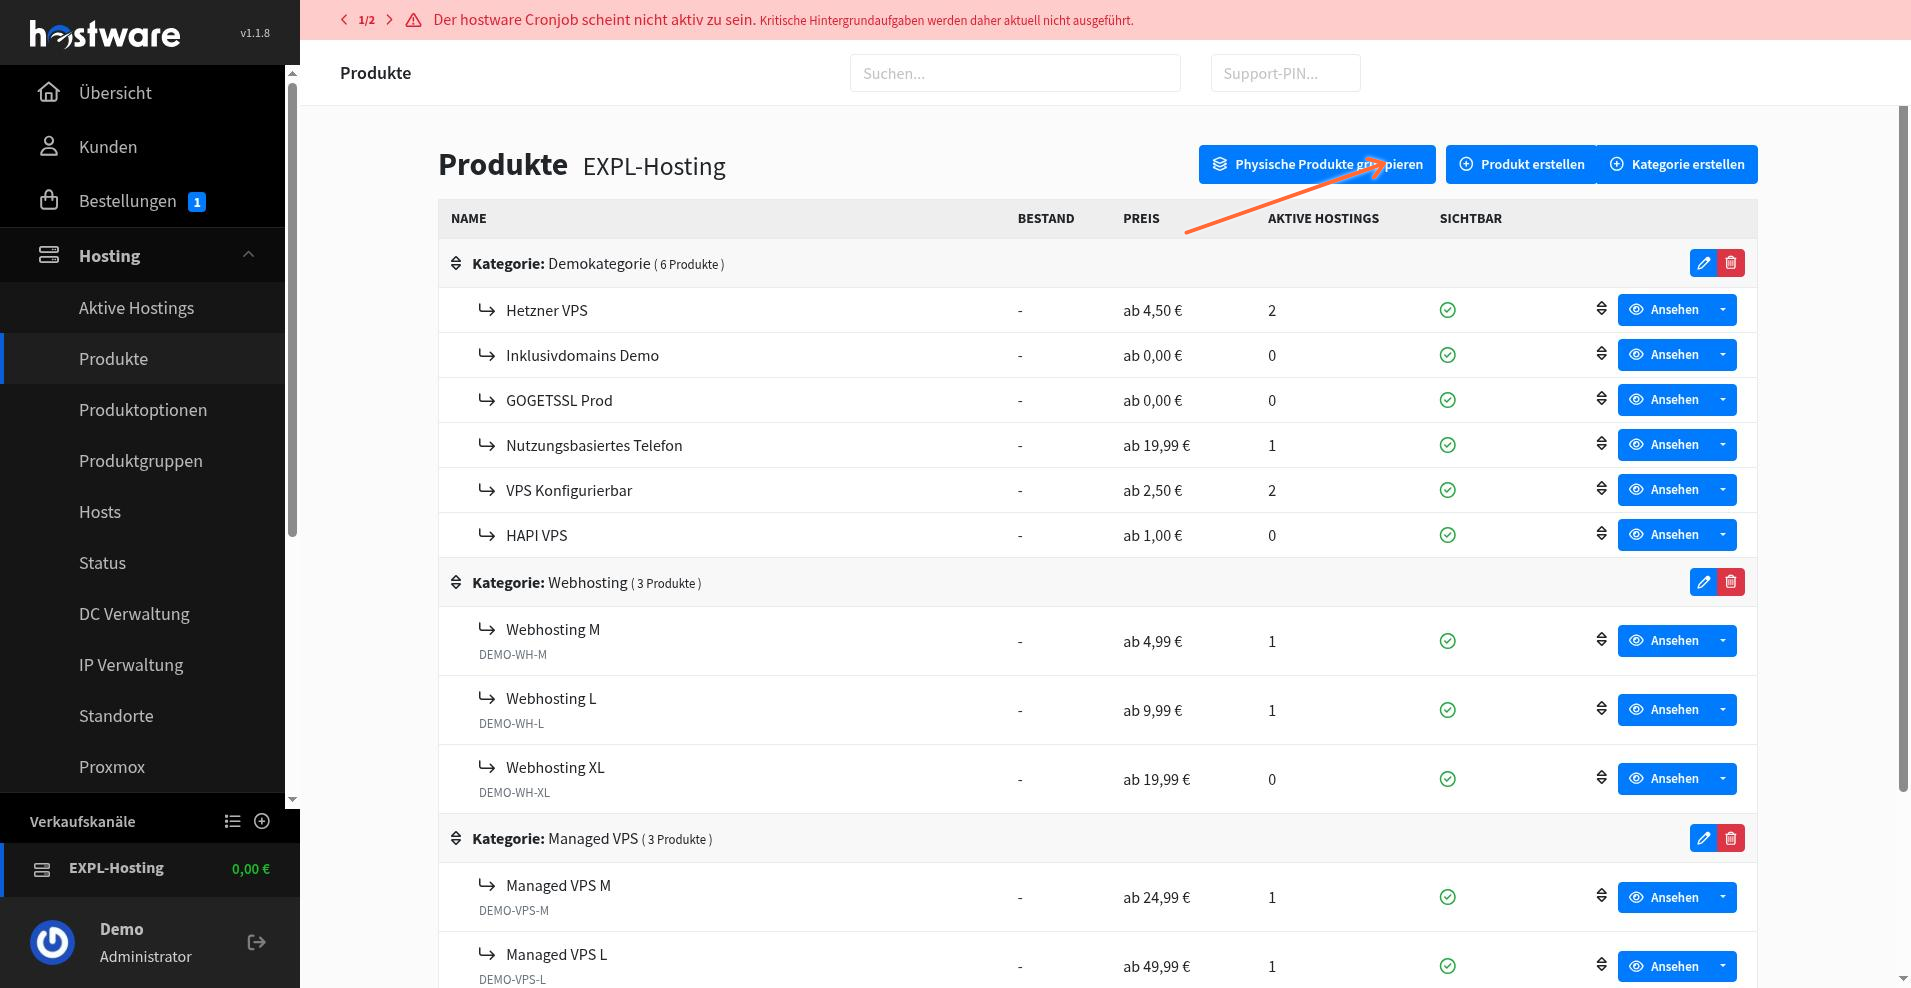
Click Produkte in the left sidebar to open the product list.
Click the green Produkt erstellen button to start creating a new product.
A product creation form appears. Fill in the following fields:
Kategorie: Choose the appropriate category.
Anzeigename: Enter a display name for the product.
Beschreibung: Add a description.
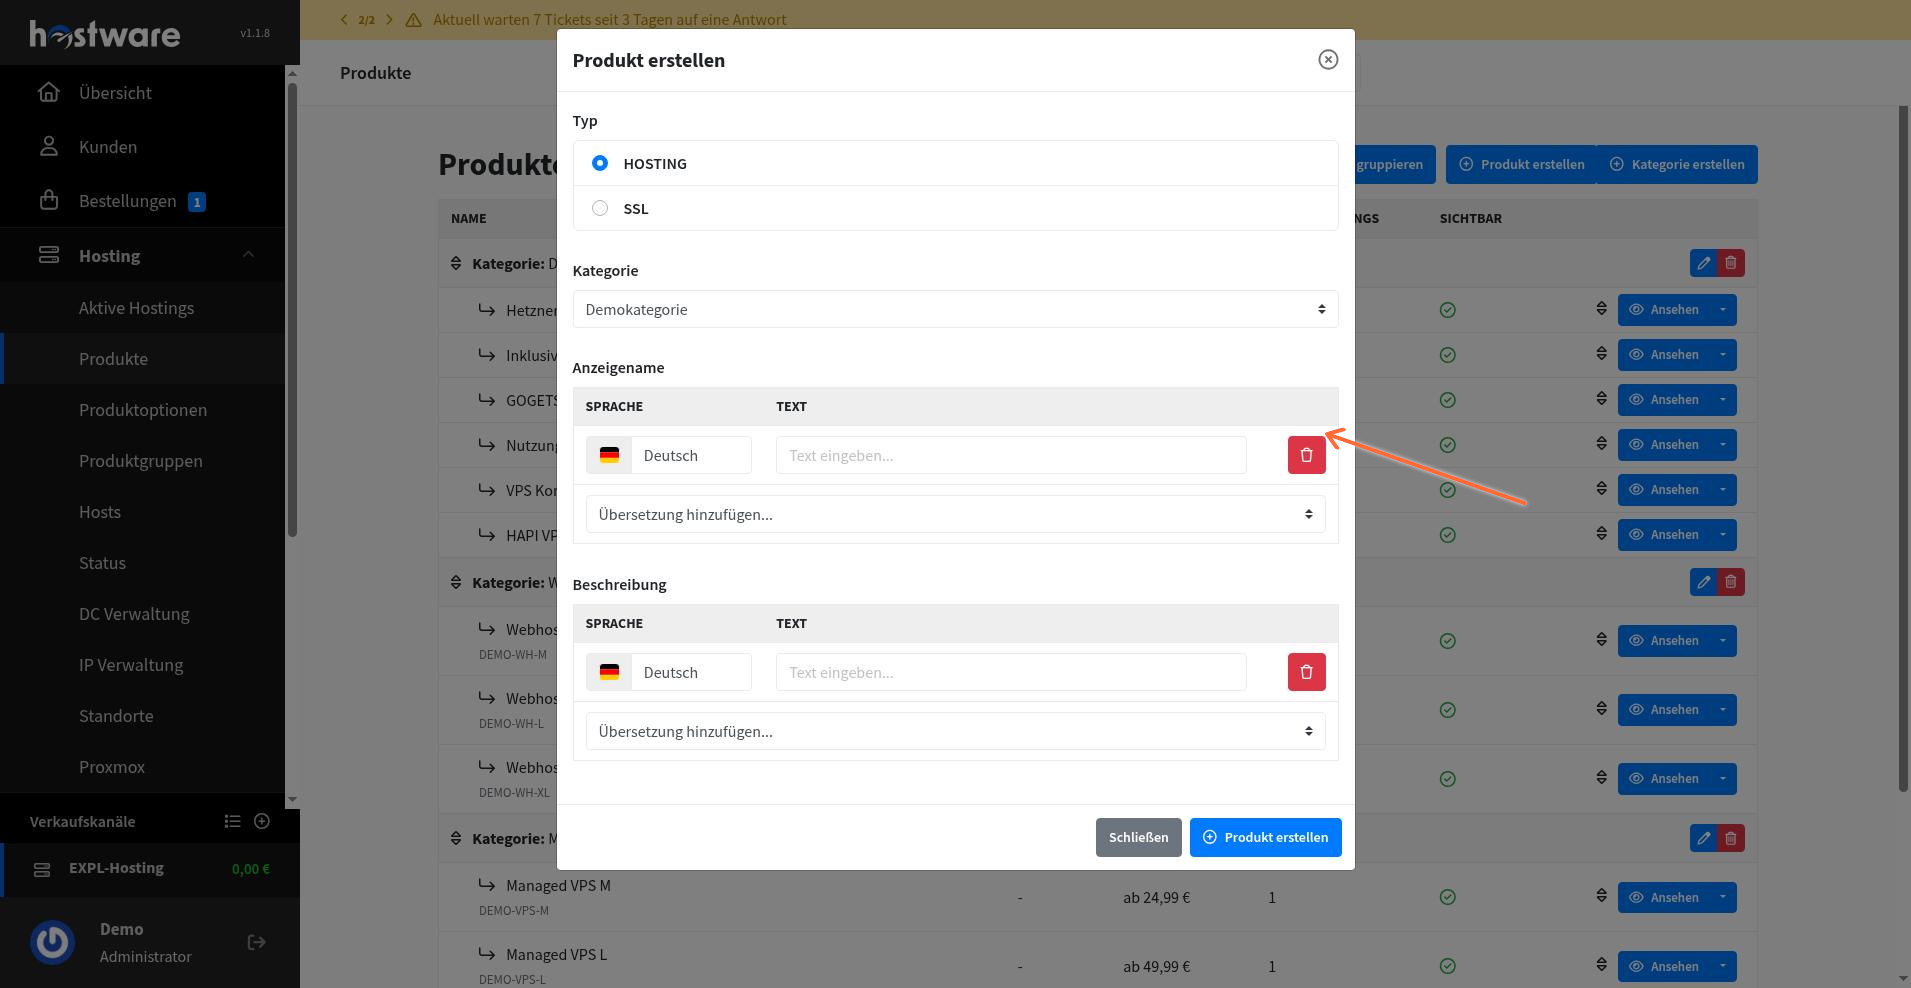
Click Produkt erstellen to save the product.
Step 2: Create a monthly payment interval
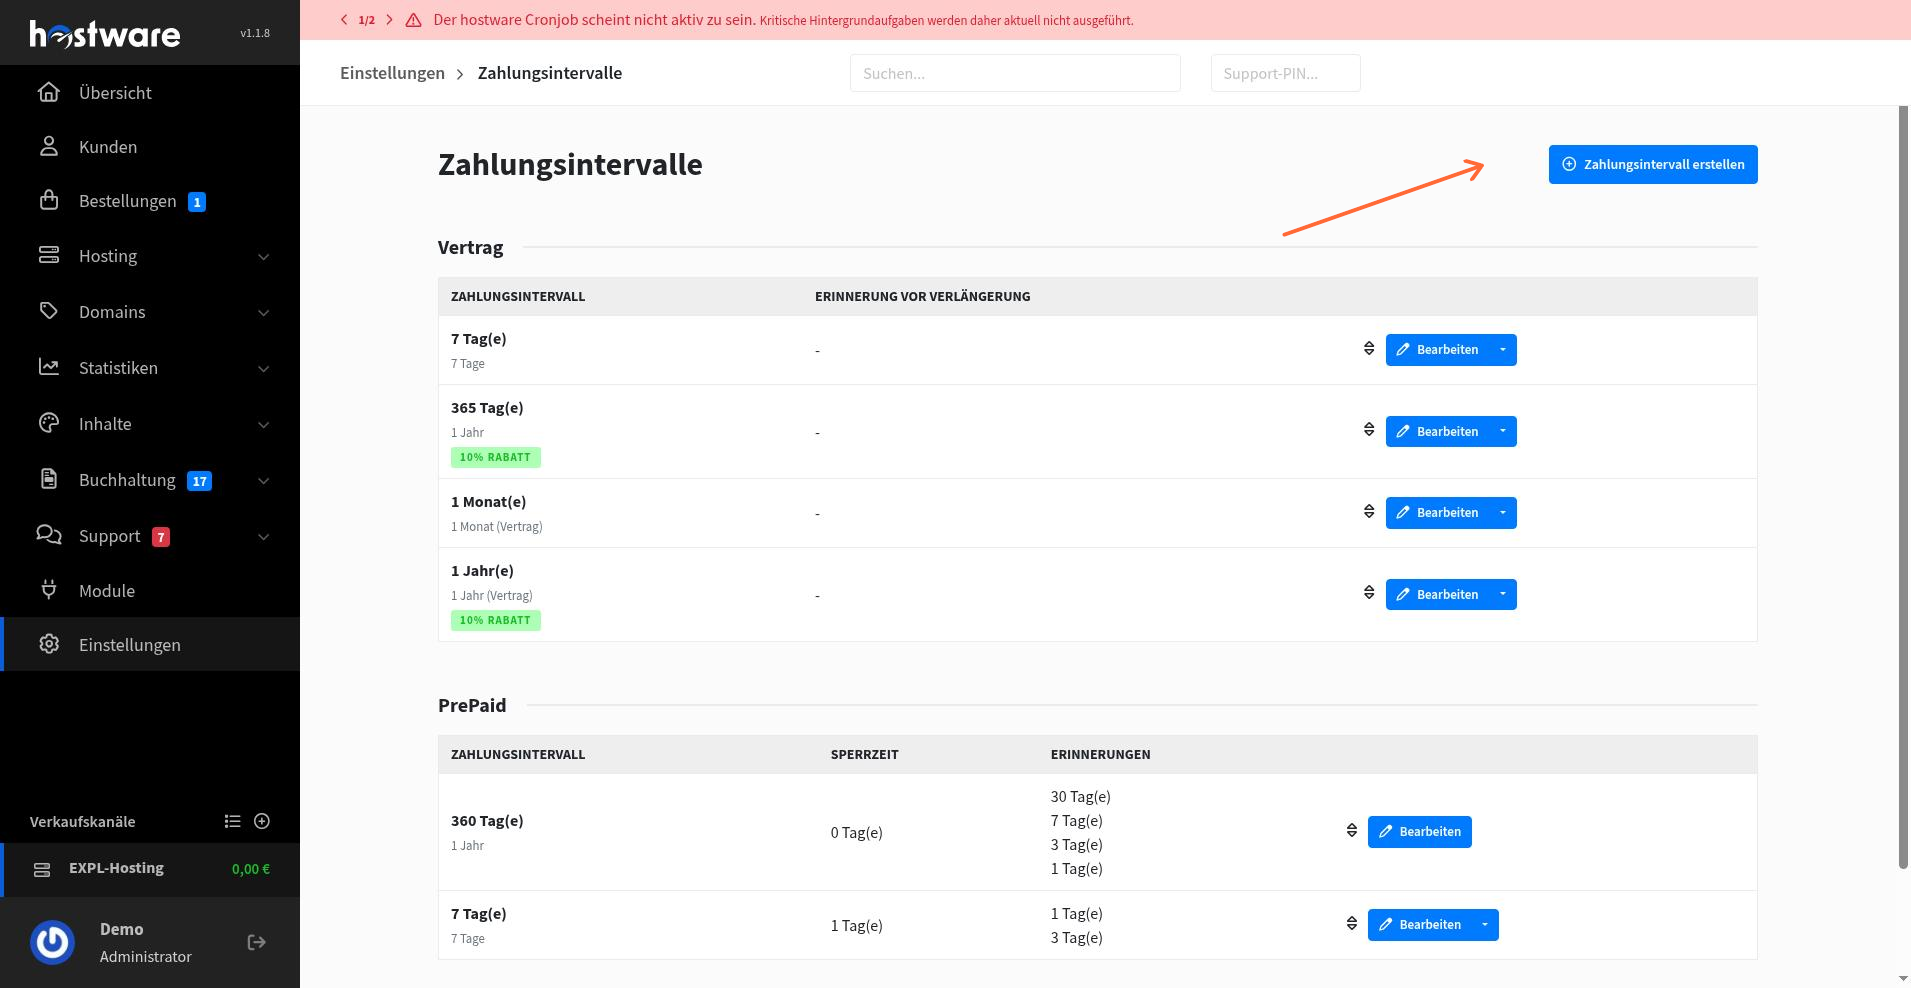
Click Einstellungen in the left sidebar, then navigate to Zahlungsintervalle.
Click the blue Zahlungsintervall erstellen button.
On the create form, configure the monthly interval:
Typ: Select the interval type.
Notiz (intern): Add an internal note for reference.
Multiplikator: Set the multiplier.
Zahlungsintervall: Set the period length to 1 month.
Review other options as needed.
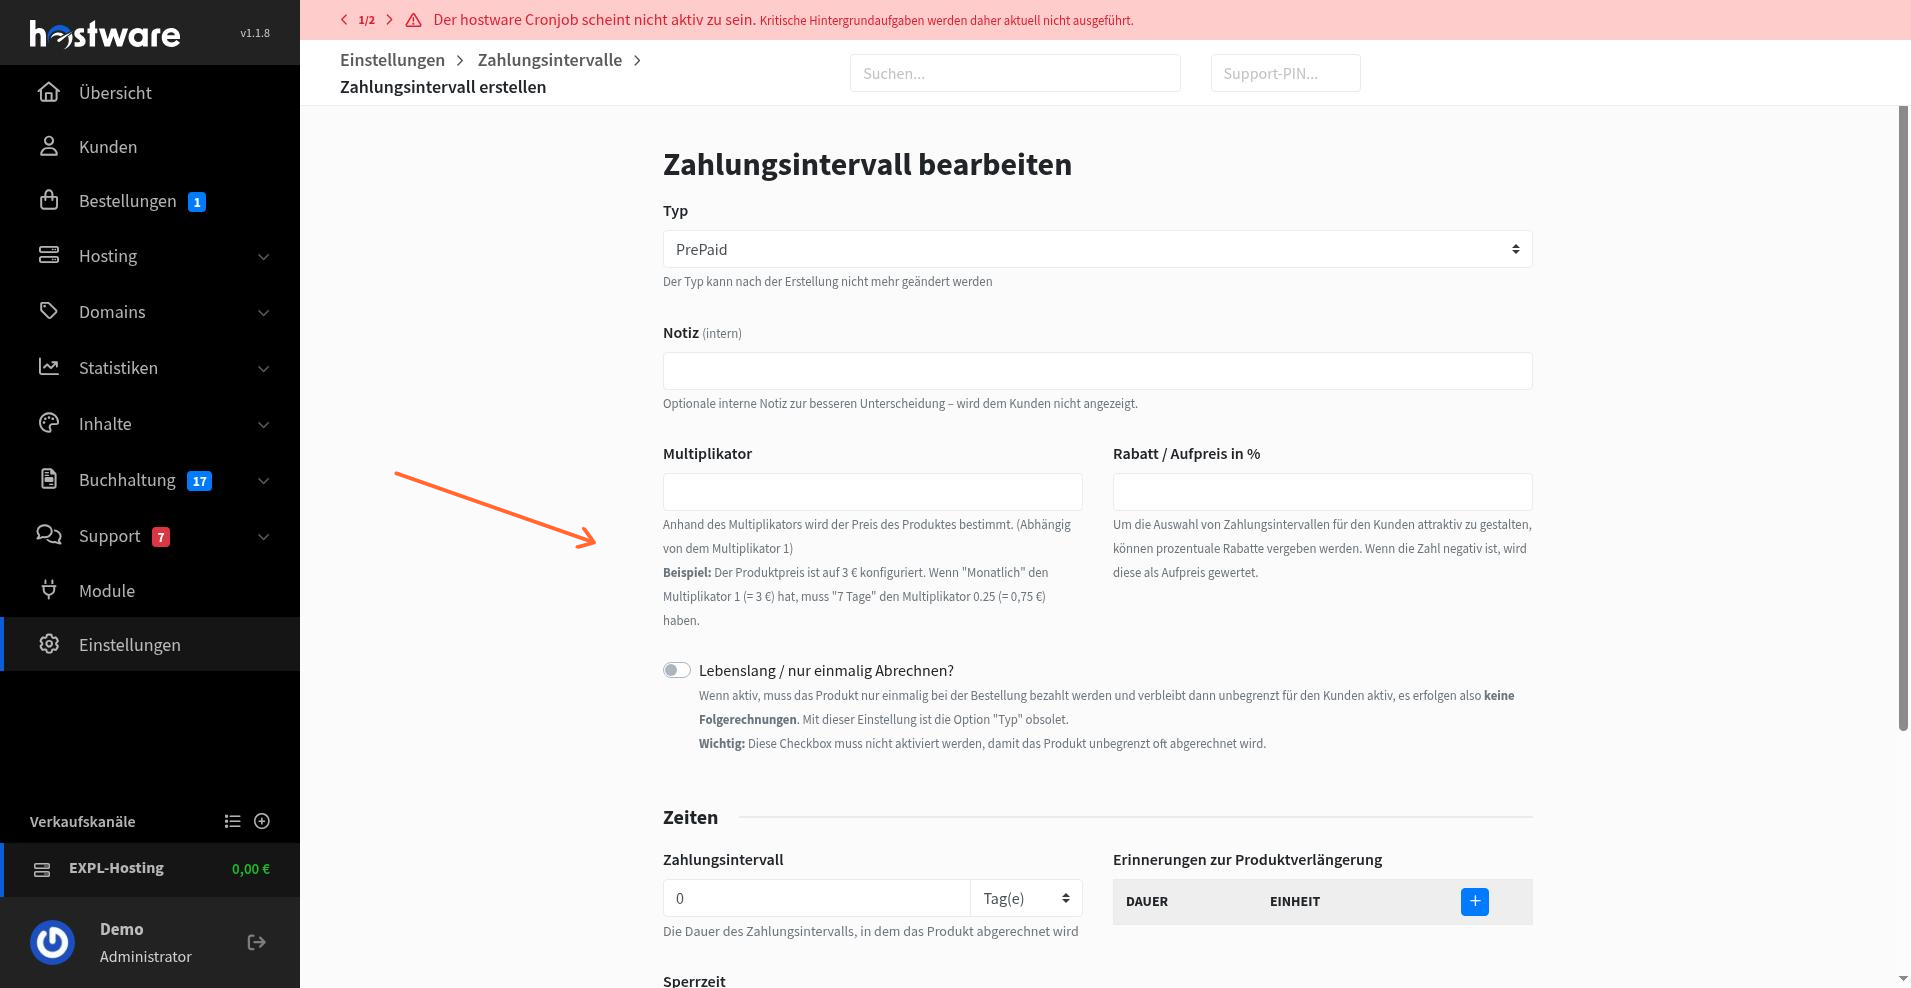
Click Zahlungsintervall erstellen to save the interval.
Step 3: Create a contract term
From the left sidebar, navigate to Einstellungen > Vertragslaufzeiten.
Click the blue Vertragslaufzeit erstellen button.
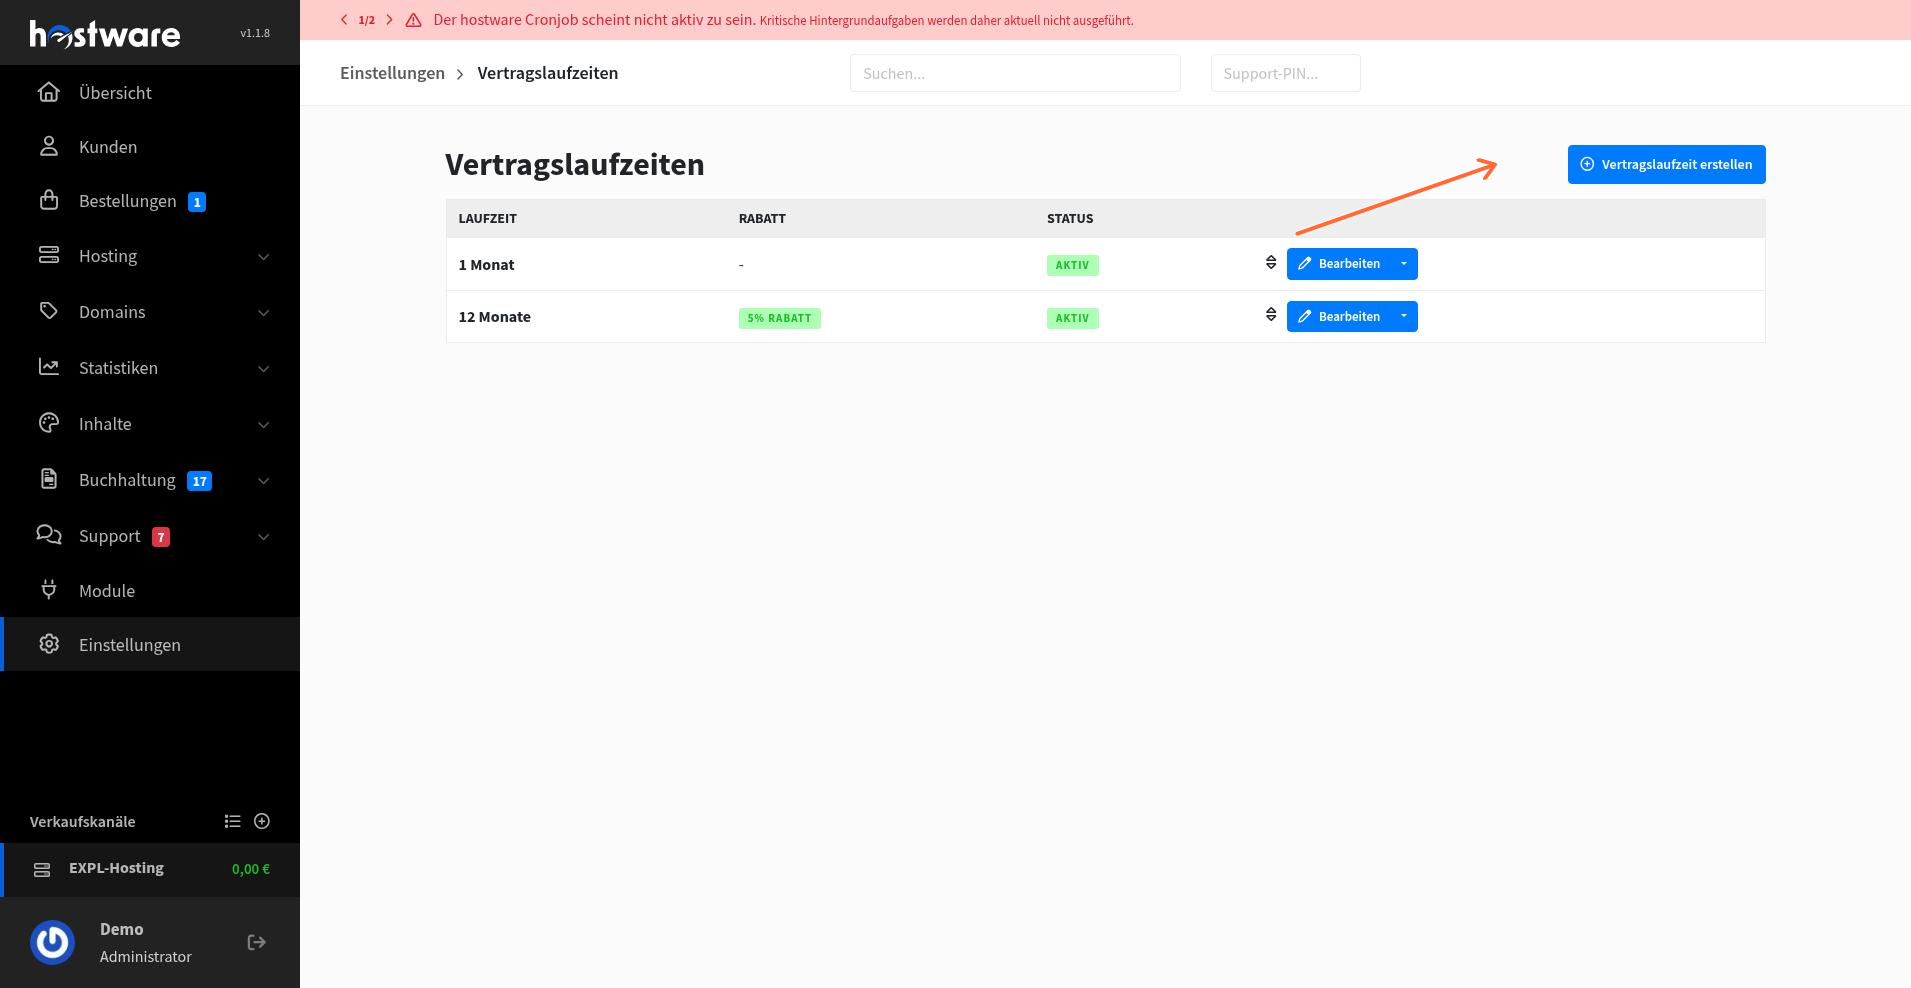
On the create form, configure the contract term:
Notiz (intern): Add an internal note.
Laufzeit in Monaten: Enter the duration (for example, 1 month).
Rabatt in %: Set a discount if applicable.
Status: Set the status to active.
Review other options as needed.

Click Erstellen to save the contract term.
Step 4: Assign the payment interval and contract term to the product
Go back to Produkte and open the product you created.
Click the Preis tab to open the pricing settings.
In the Verfügbare Zahlungsintervalle section, check the box for the monthly payment interval you created. In the Verfügbare Vertragslaufzeiten section, check the box for the contract term you created.
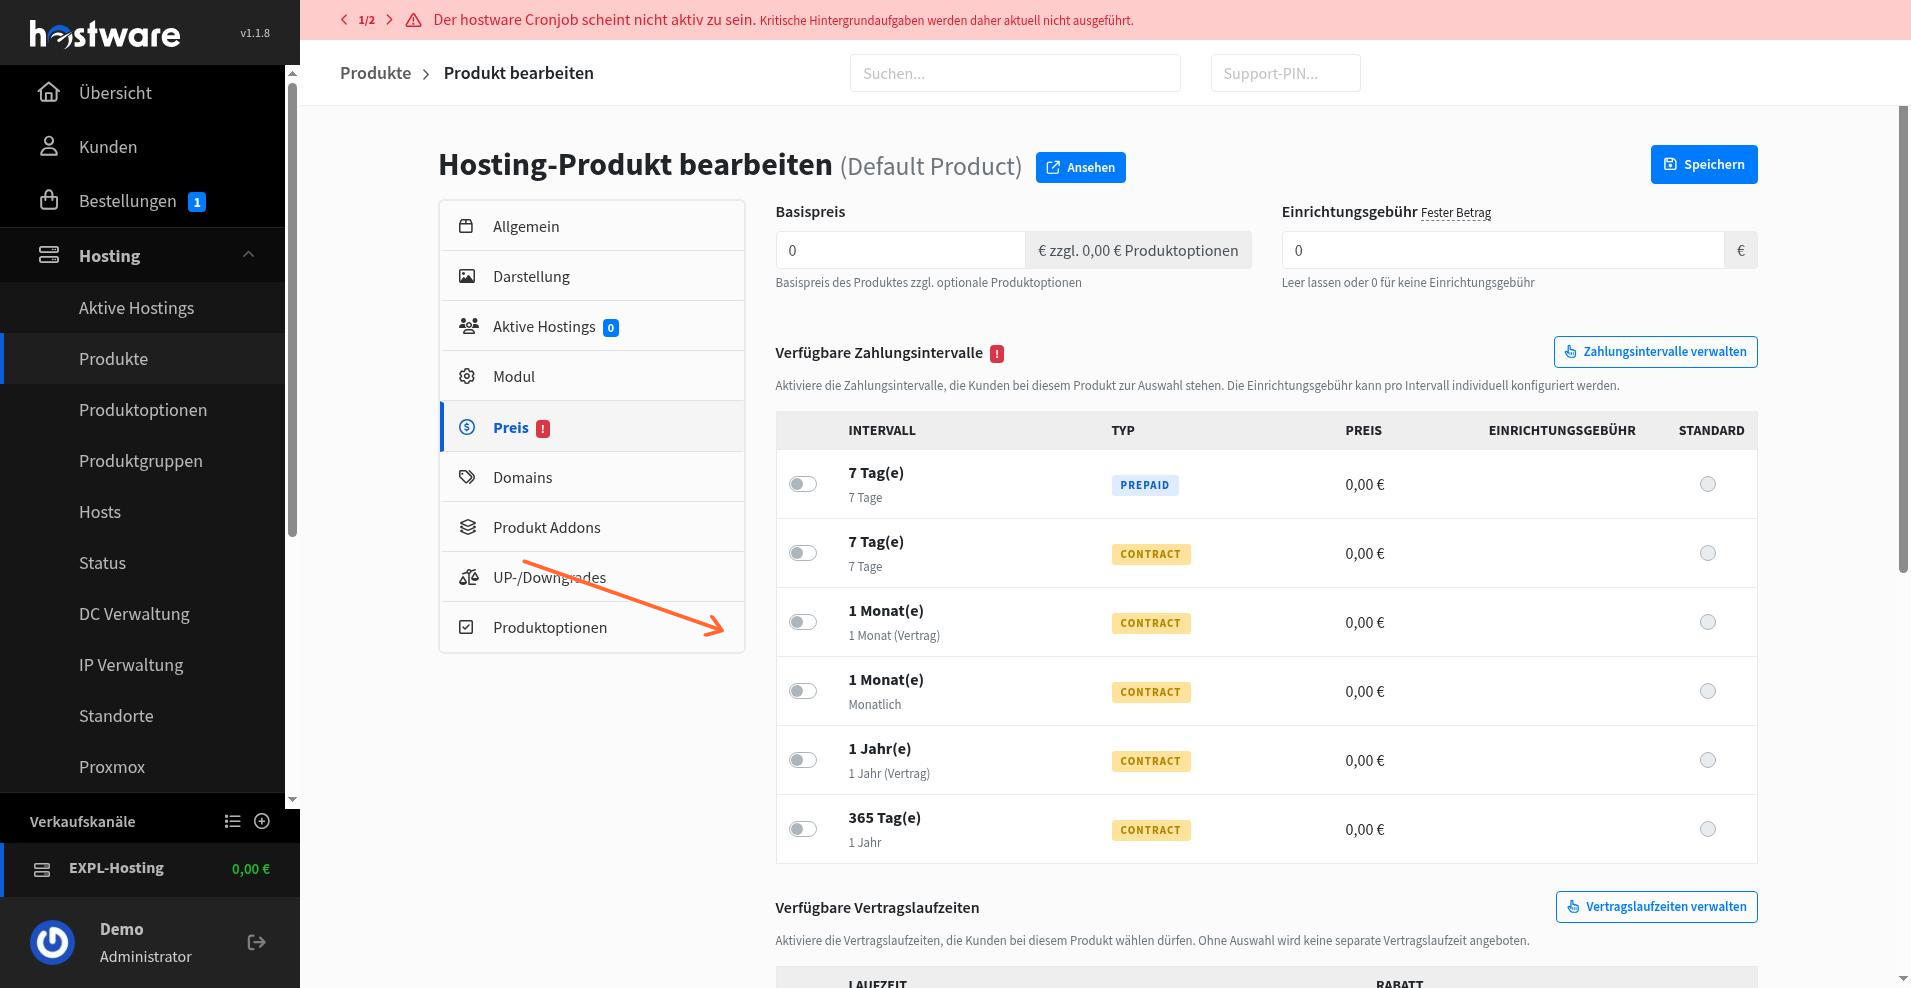
Save the product. The monthly payment interval and contract term are now assigned to your default product.
Step 5: Configure usage-based billing on the product
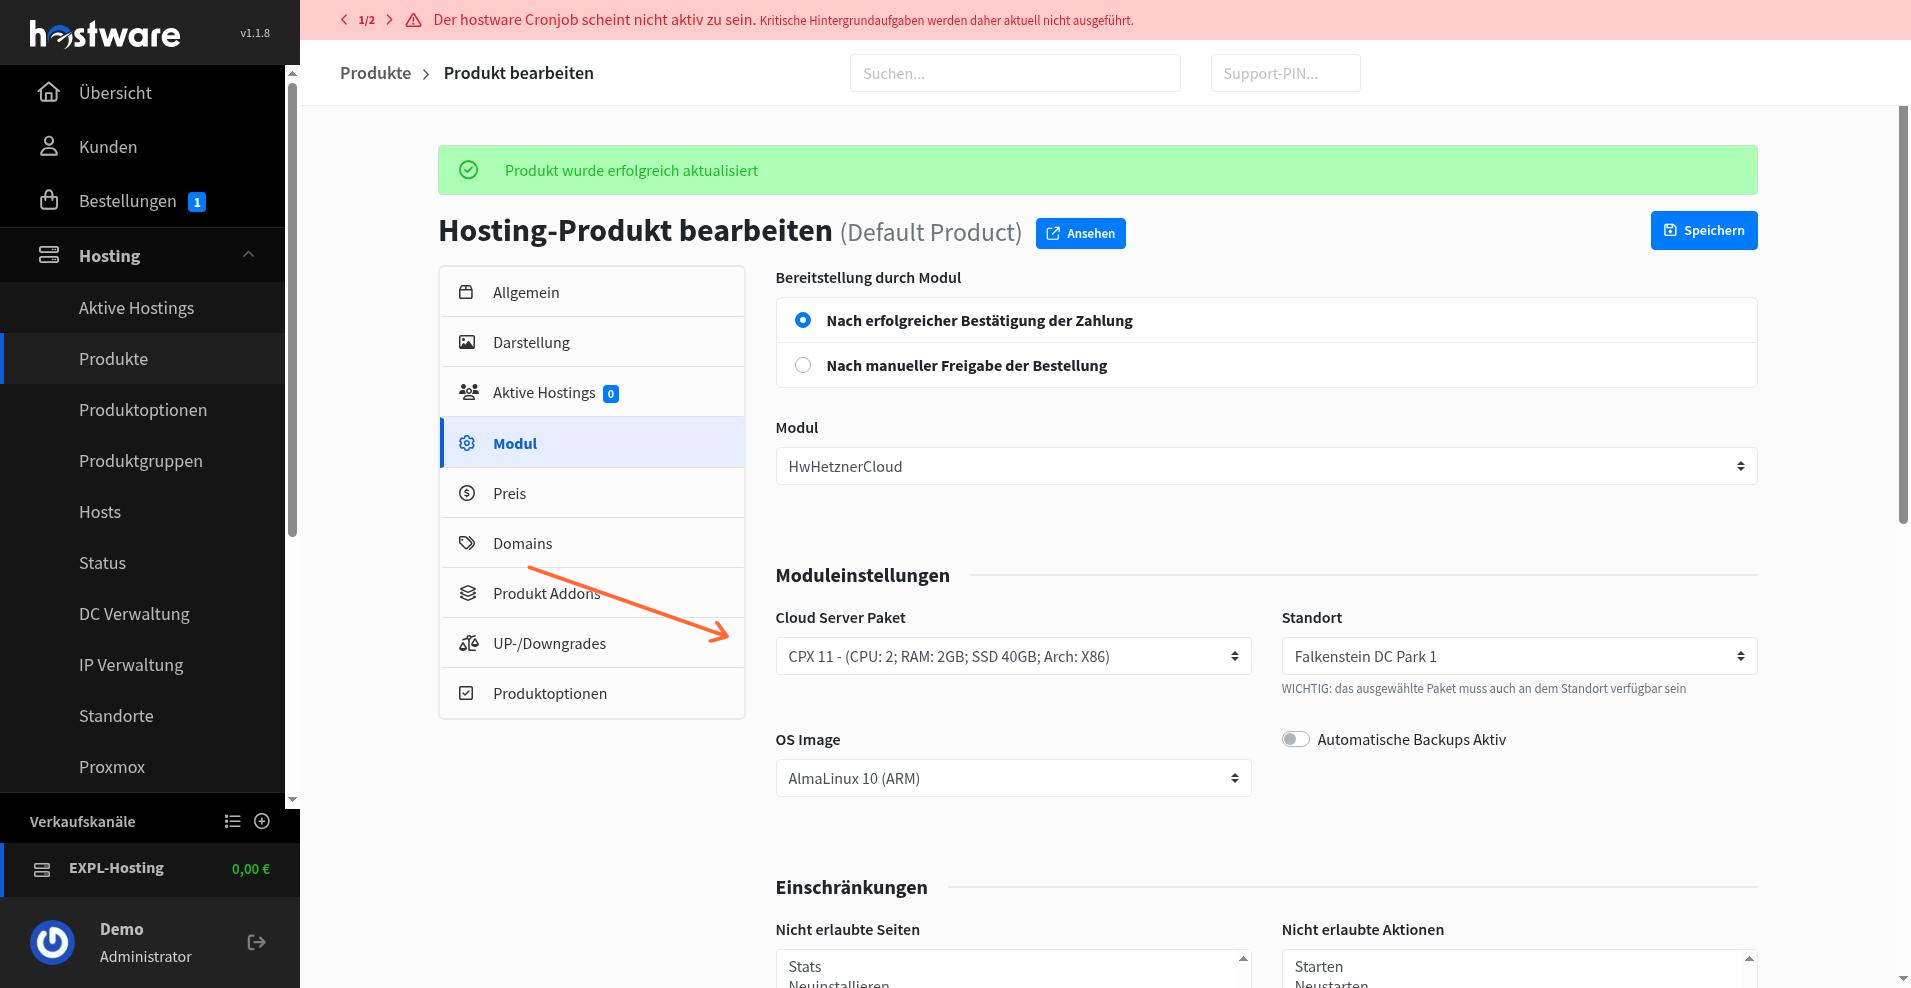
On the same product, click the Modul tab.
Find the Verbrauchsbasierte Abrechnung section and click Neue Verbrauchsabrechnung.
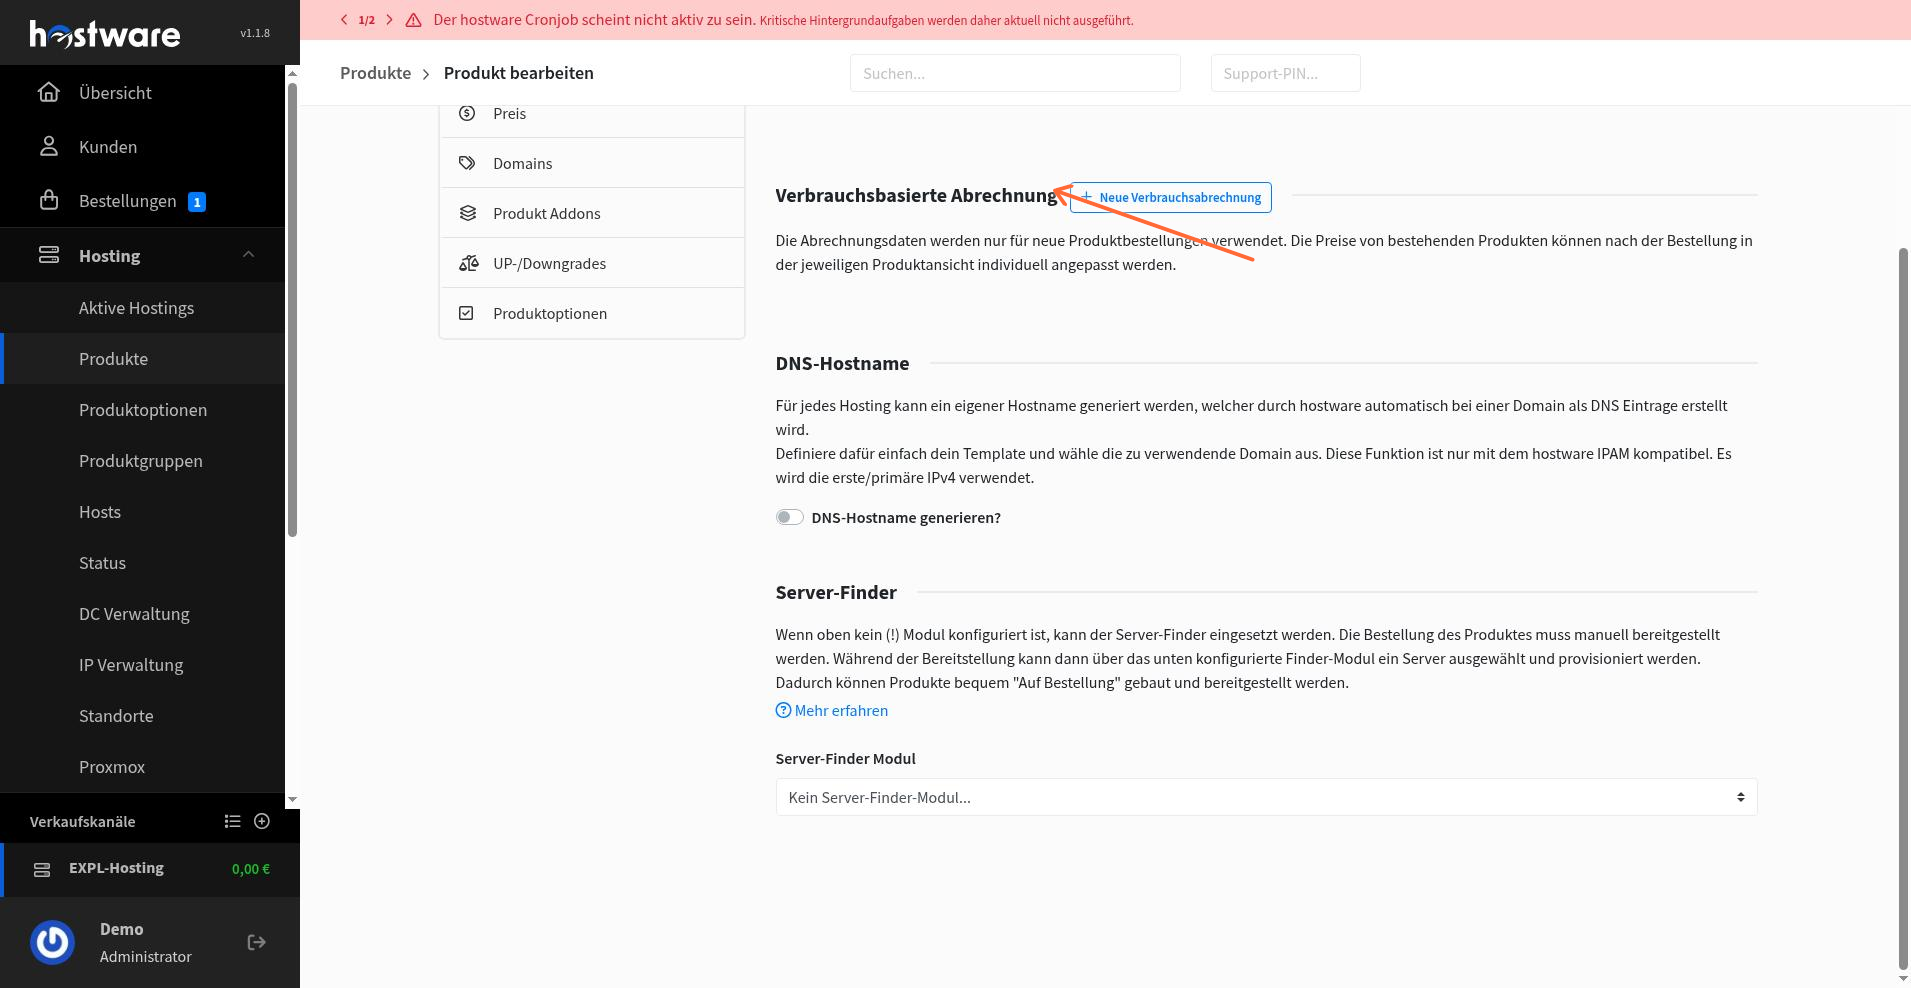
Configure the usage-based billing item:
Anzeigename: Enter the display name.
Technischer Name: Enter the technical name.
Messwert-Typ: Select the measurement type.
Einheit: Set the unit.
Review the pricing table and adjust as needed.
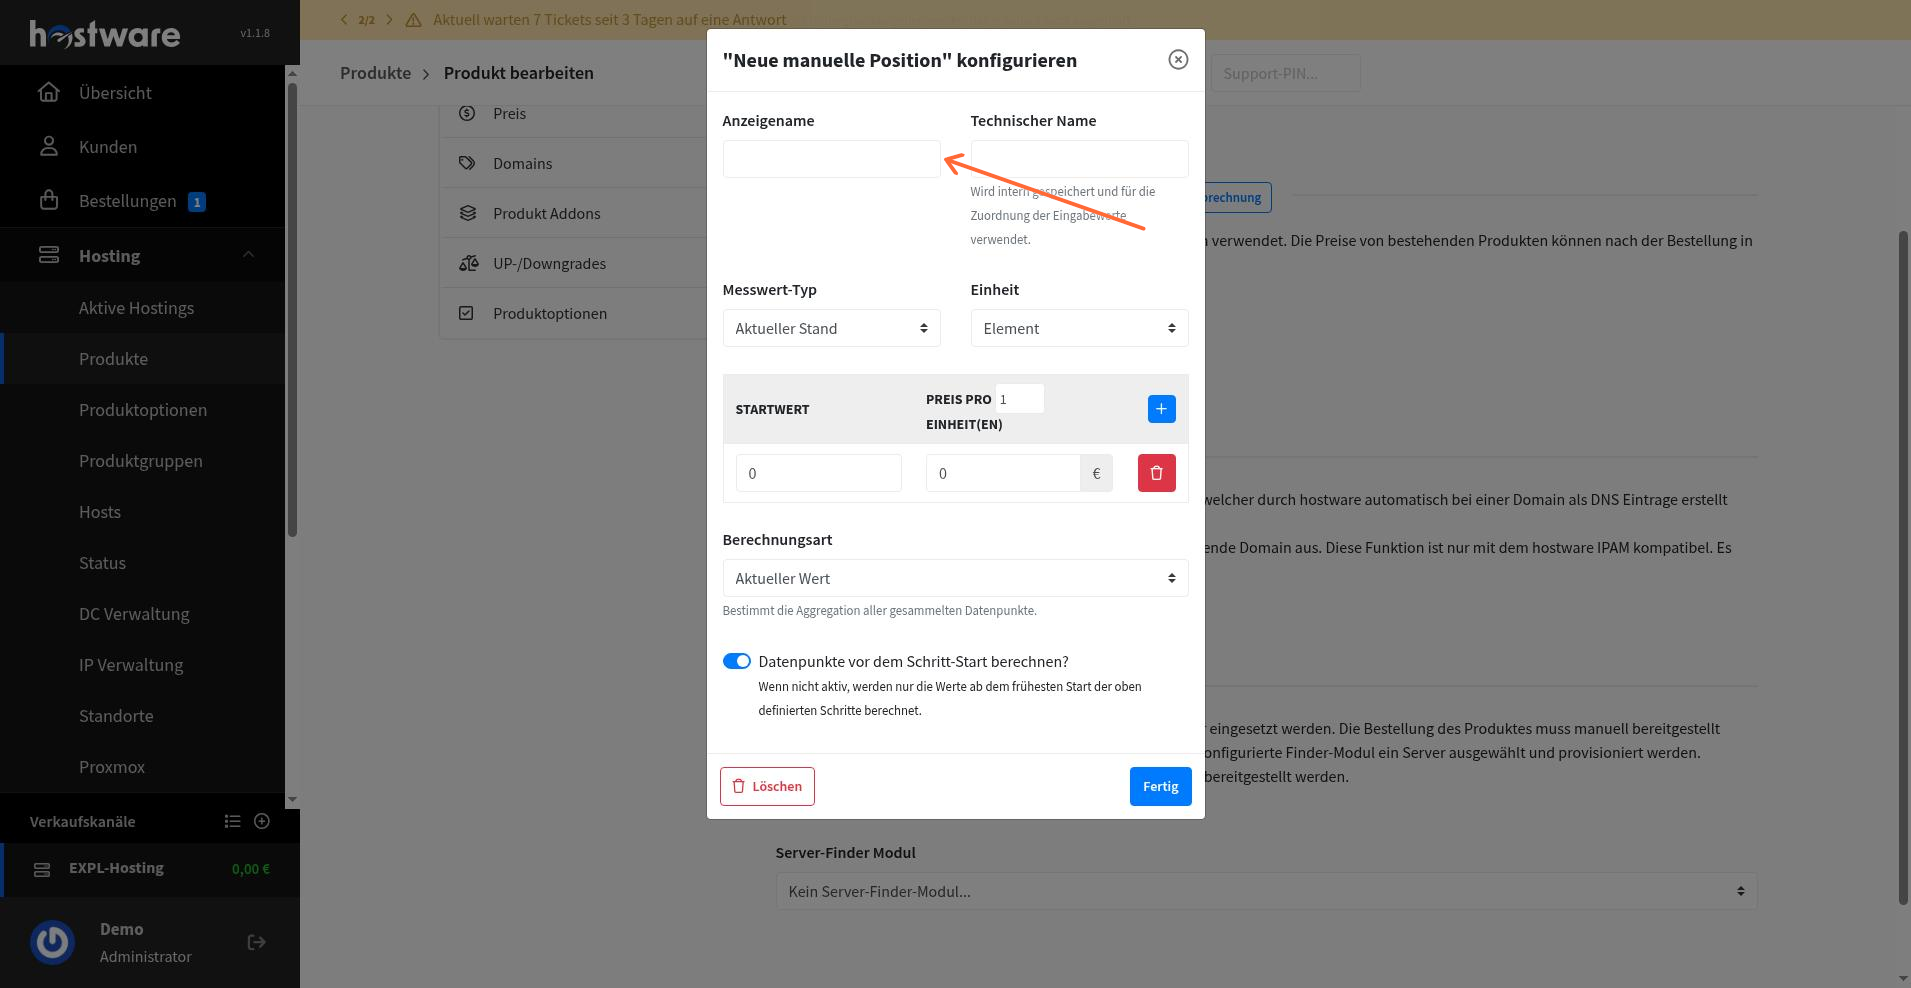
Save the item. The usage-based billing is now configured on the product.
Step 6: Add the Hetzner module to the product
Stay on the product's Modul tab.
Select HwHetznerCloud as the module for this product.
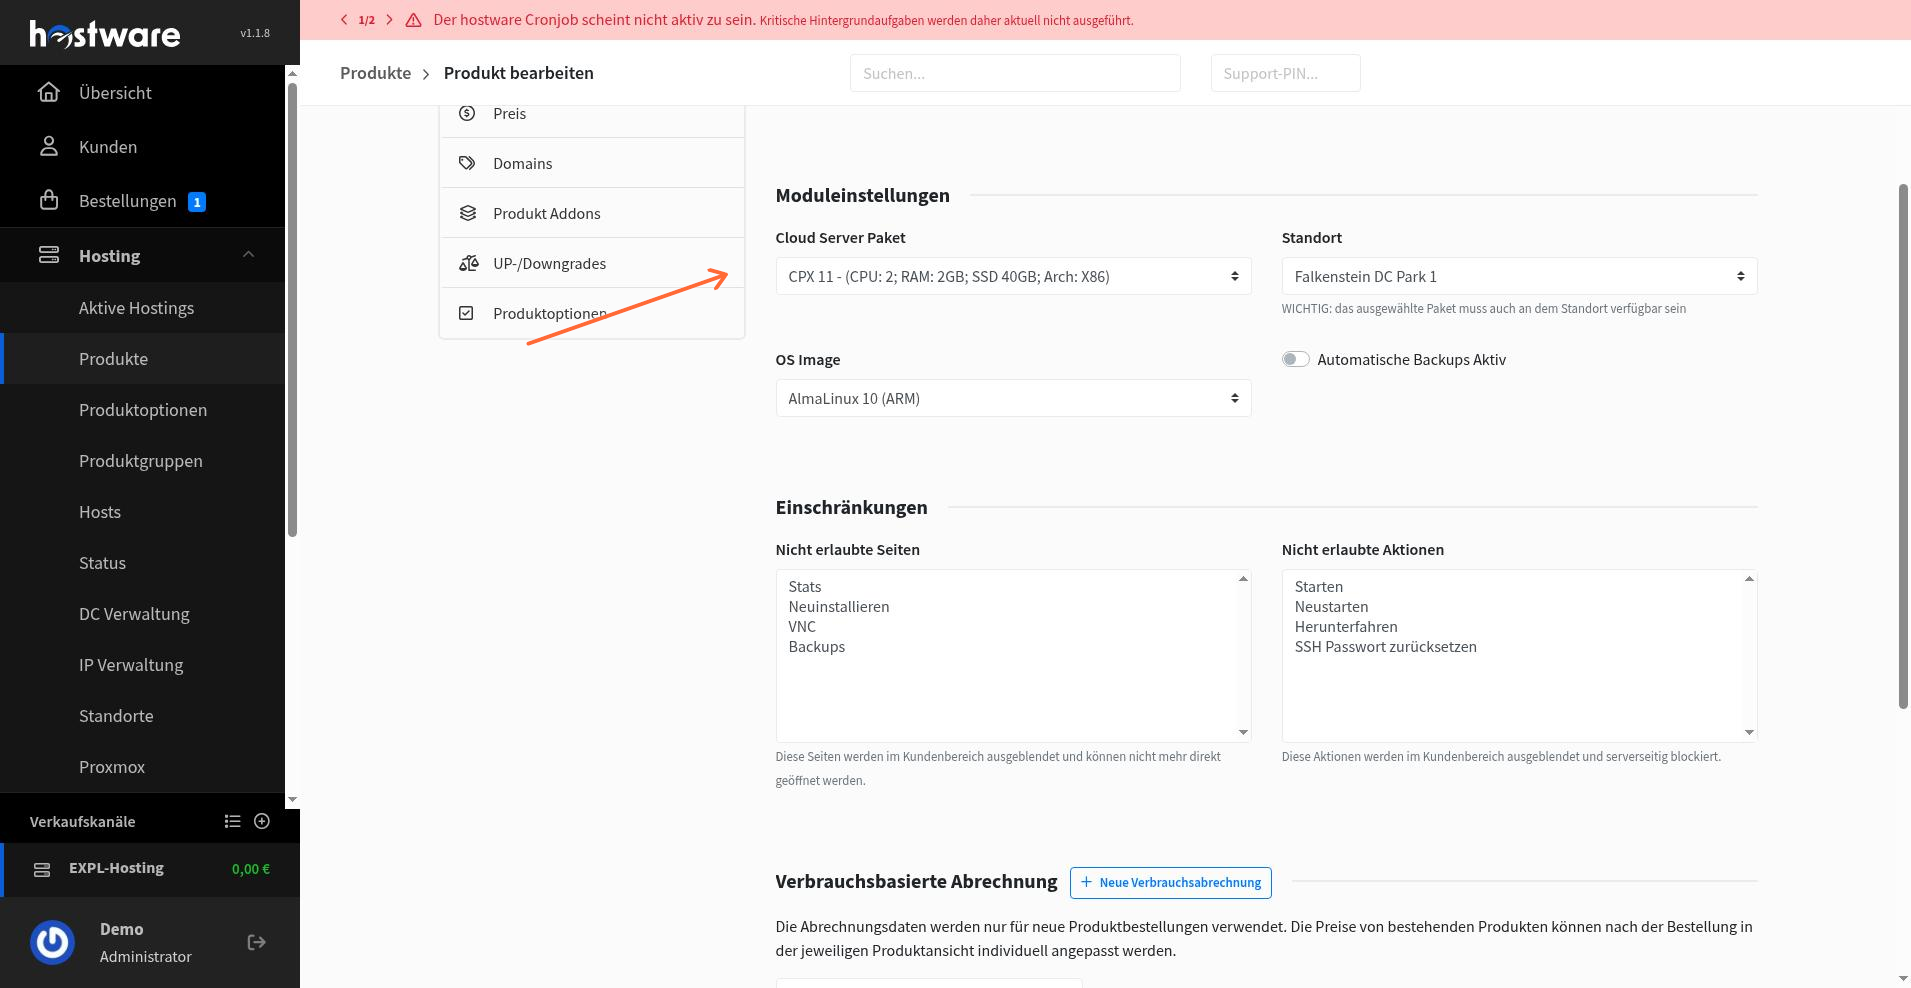
Configure the Hetzner module settings:
Cloud Server Paket: Choose the server package (for example, CPX 11).
Location: Select the data center location.
OS Image: Choose the operating system image.
Review any restriction or addon settings as needed.
Save the product. The Hetzner module is now assigned and configured for this product.
What is next
Your product is now fully configured with billing terms, usage-based billing, and the Hetzner module. You can continue by setting up pricing, provisioning rules, or linking the product to customer plans.